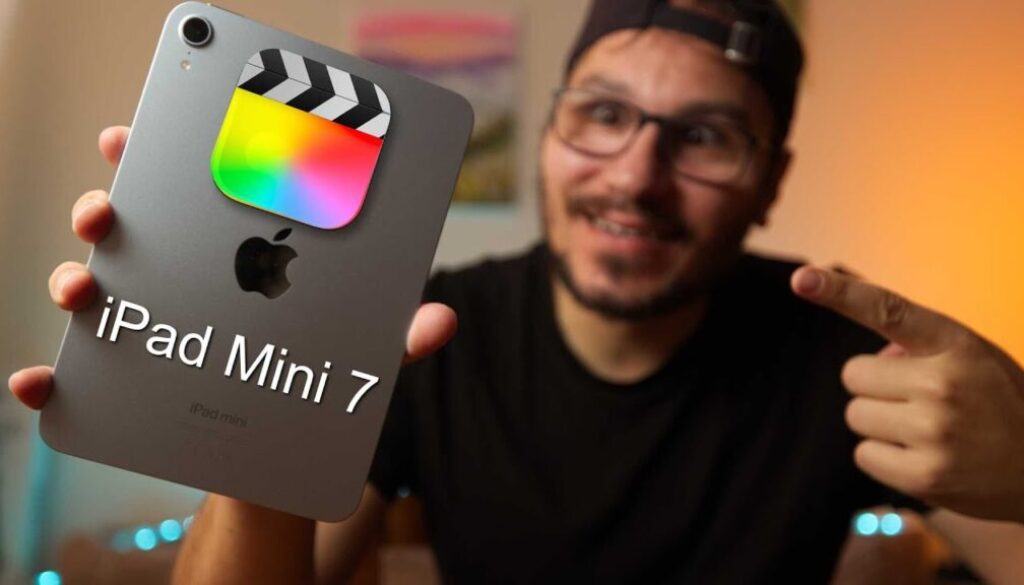
Final Cut Pro on iPad Mini 7: UNDERRATED!!!
In this article/video I will show you that the iPad Mini 7 can run Final Cut Pro for iPad with no limitations. Apple never advertised this, but the A17 Pro chip in the iPad Mini 7 is powerful enough to handle Final Cut Pro just like the M-chip iPads. Let me show you how it works and why the iPad Mini 7 is a totally underrated video editing device.

Contents
- [Video] iPad Mini 7 and Final Cut Pro for iPad – No Limitations!
- Does Final Cut Pro Work on iPad Mini 7?
- Apple Pencil Pro Works with iPad Mini 7
- Final Cut Pro vs DaVinci Resolve on iPad Mini 7
- How to Create a New Project in Final Cut Pro for iPad
- Final Cut Pro iPad Project Settings: Resolution, Frame Rate and Color Space
- External SSD with Final Cut Pro on iPad Mini 7
- Final Cut Pro iPad Interface: Viewer, Timeline and Media Pool
- How to Use the Jog Wheel in Final Cut Pro for iPad
- Inspector and Effects in Final Cut Pro for iPad
- iPad Mini 7 vs iPad Pro: Size and Weight for Editing on the Go
- Connect a Bluetooth Keyboard and Mouse to iPad Mini 7
- If you want to host your own Online Course use CC360
[Video] iPad Mini 7 and Final Cut Pro for iPad – No Limitations!
Does Final Cut Pro Work on iPad Mini 7?
Yes, Final Cut Pro works on the iPad Mini 7. When Final Cut Pro launched for iPad, Apple said it only works on M-chip iPads. That means you needed an iPad Pro from 2021 or newer (M1, M2, M4) or an iPad Air with M1 or M2. All other iPads could not run Final Cut Pro.
But the iPad Mini 7 has the A17 Pro chip, which is the same chip from the iPhone 15 Pro. This chip is powerful enough to run Final Cut Pro without any issues. If you open the App Store on your iPad Mini 7, you will find Final Cut Pro available to download. On older iPads without the M-chip or A17 Pro, you will not even see Final Cut Pro in the App Store.
The funny thing is that Apple does not advertise this at all. If you go to the Apple Store, the demo iPads only have Final Cut Pro installed on the iPad Pro models. And on the Apple website there is not a single mention that the iPad Mini 7 can run Final Cut Pro. I think Apple does this on purpose because they want the high-end creatives and editors to buy the iPad Pro.
Apple Pencil Pro Works with iPad Mini 7
One of the reasons the iPad Mini 7 is so underrated is that it also supports the Apple Pencil Pro. The Apple Pencil Pro has features like the squeeze gesture where you can quickly switch between tools, and the hover feature where you can preview your timeline and footage just by hovering over it without tapping.
The hover feature was introduced with the M2 chip, so if you have an M1 iPad Pro like I do, you actually cannot use the hover feature with the regular Apple Pencil. But the iPad Mini 7 with the Apple Pencil Pro gives you all of these features. That is something you normally only get with the newest iPad Pro or the iPad Air with M2.
Final Cut Pro vs DaVinci Resolve on iPad Mini 7
Both Final Cut Pro and DaVinci Resolve run on the iPad Mini 7. I already made a separate video showing DaVinci Resolve running on the iPad Mini 7, so check that out if you are interested.
Here is my honest take: DaVinci Resolve is the Hollywood-level software with all the bells and whistles. If you want everything, go with DaVinci Resolve. But with DaVinci Resolve I also recommend a keyboard and a mouse to get the most out of it.
Final Cut Pro is more optimized for beginners and for touch editing. You do not need a keyboard or a mouse. Everything is laid out on the UI so you can use it with your fingers and the Apple Pencil. Final Cut Pro also has the built-in Jog Wheel which does not exist in other editing software. In DaVinci Resolve you would need to buy additional hardware like a Speed Editor to get something similar.
The big difference is the pricing model. DaVinci Resolve is free (with an optional Studio version for advanced users). Final Cut Pro is subscription-based at about five dollars a month. If you use it for creating content on YouTube or for your business, that is a no-brainer.
How to Create a New Project in Final Cut Pro for iPad
To start a new project in Final Cut Pro for iPad, open the app and tap on “New Project”. You can save the project on your iPad or on an external SSD. Give your project a name, and then you need to choose your project settings.
By default, the project is set to “Automatic” which means it will take the settings from the first clip you import. I like to change this to “Custom” so I can set everything myself.
Final Cut Pro iPad Project Settings: Resolution, Frame Rate and Color Space
Resolution: Final Cut Pro on iPad supports up to 4K. For most YouTube explainer videos, 1080p (1920 x 1080) in landscape orientation is enough. If you want to create vertical videos for TikTok or Shorts, switch to portrait mode and the numbers get flipped.
Color Space: The most common color space is Rec. 709. This is what most TVs and screens display, so if you want your video to look good on all devices, choose Rec. 709. If you recorded HDR material (for example with your iPhone), you can select HDR. But keep in mind that not every device can display HDR content.
Frame Rate: This depends on how you want your project to look. 24 frames per second gives you the cinematic motion blur effect like you see in Hollywood movies. 30 or 60 frames per second looks more like reality TV. The important thing is to match your timeline frame rate to your camera frame rate. If your camera shoots at 30 fps, keep your timeline at 30 fps. If you record in 24 fps, set it to 24 fps. Mixing frame rates can make your video look awkward because the software has to cut out frames in an uneven pattern.
External SSD with Final Cut Pro on iPad Mini 7
The iPad Mini 7 has USB-C, which means you can connect an external SSD and work from it. But here is something important to know about Final Cut Pro: even if you select an external SSD as the project location, Final Cut Pro will always copy the footage to the internal storage of your iPad. This is just how Final Cut Pro works.
This is different from DaVinci Resolve. In DaVinci Resolve, if you create a project on your external SSD, all the footage stays on the SSD. You can take the SSD to a different device and continue working. That seamless workflow does not work the same way in Final Cut Pro.
Because of this, I recommend getting the iPad Mini 7 with more storage if you plan to edit videos. My iPad Mini 7 has 256 GB, which is the same as my iPad Pro.
Final Cut Pro iPad Interface: Viewer, Timeline and Media Pool
The main window in Final Cut Pro is split into three parts. On top you have the Viewer where you can preview your footage and your timeline. In the middle you have the Media Pool where all your imported media lives. And at the bottom you have the Timeline where you build your edit.
You can customize the layout by resizing the windows. Use two fingers to pinch and zoom inside the media pool to change thumbnail sizes. You can also use picture-in-picture mode to get more space in your timeline while still seeing your video preview in a small floating window.
To import media, you can add clips from your Photos library, from your Files, or you can even record directly using the Final Cut Pro Camera. You can also set up a live multicam if you have the Final Cut Pro Camera app on multiple devices.
How to Use the Jog Wheel in Final Cut Pro for iPad
The Jog Wheel is one of the best features in Final Cut Pro for iPad. You can activate it with the icon on the right side of the interface. Once activated, you can use it to scroll through your timeline with your finger or Apple Pencil.
The Jog Wheel has two modes. The first is Playhead Mode, where you can scrub through your timeline. The second is Nudge Mode, which you activate by tapping the mode switch on the Jog Wheel. In Nudge Mode, you can select a clip handle (the edge of a clip) and then use the Jog Wheel to extend or shorten the clip precisely.
You can also place the Jog Wheel on the left or right side of the screen, or turn it off completely if you do not need it.
Inspector and Effects in Final Cut Pro for iPad
To make changes to a clip, select it in the timeline and open the Inspector from the bottom left of the interface. In the Inspector you can change opacity, clip speed, blend mode, position, scale, rotation and more.
For audio, the Inspector has a separate section where you can adjust audio settings and add audio effects like voice isolation, compressor and EQ. You can also drag and drop audio effects from the effects library directly onto a clip.
The effects library is accessible from the top of the interface. It includes video effects, transitions, titles, graphics, generations and sound packs. Final Cut Pro comes with a pre-designed library of effects that you can download from the cloud. Just drag and drop any effect onto a clip to apply it. If you want to remove an effect, you can disable it, reset the parameters, or right-click and delete it.
iPad Mini 7 vs iPad Pro: Size and Weight for Editing on the Go
This is where the iPad Mini 7 really shines. My iPad Pro 11-inch with the Magic Keyboard and Apple Pencil is actually heavier than an iPad Air. The iPad Mini 7 is so lightweight that it feels lighter than my iPhone 16 Pro. For editing on the go, this makes a huge difference.
You can hold the iPad Mini 7 in one hand and edit with the Apple Pencil in the other. Everything you need is right there in a tiny package. You still get USB-C, you still get Apple Pencil Pro support, and you still get the same app capabilities as the iPad Pro.
Connect a Bluetooth Keyboard and Mouse to iPad Mini 7
If you want a more professional setup, you can connect a Bluetooth keyboard and mouse to the iPad Mini 7. This works the same as on the iPad Pro. You can use keyboard shortcuts in Final Cut Pro to speed up your editing workflow. There are even keyboard overlay foils available specifically for Final Cut Pro shortcuts, so you can see all the available shortcuts right on your keyboard.
Many Bluetooth keyboards and mice support multiple device connections. For example, you can have one button for your MacBook, one for your iPad Pro, and one for your iPad Mini. This makes it easy to switch between devices on the fly.
If you want to host your own Online Course use CC360
I really believe, that CC360 is the best Platform to host your own Online Course currently on the market. And each week they introduce new features. Amazing. Check it out here.
Check Out: Final Cut Pro iPad MasterClass: From Beginner to Pro
Read Next
• How To Turn ON/OFF Audio Skimming in Final Cut Pro iPad
• How To DUPLICATE Timeline in Final Cut Pro iPad
• How to add KEYFRAMES in Final Cut Pro iPad