AI Face Age Transformer Explained (DVR iPad)
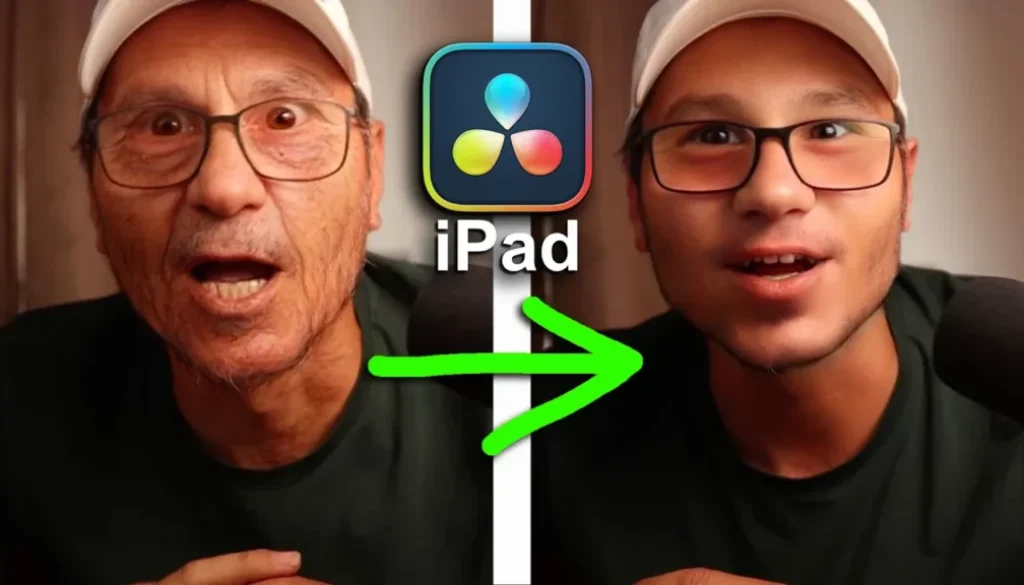
DaVinci Resolve 21 just added a brand new AI tool that lets you change your age right inside the app. With the Face Age Transformer you can make yourself look decades older or years younger using nothing but a slider. In this article I will show you exactly how to set it up and use it on your own footage.
Pro Tip: Make your Videos Cinematic (and save a tone of time) with our Seamless Transition Pack for DaVinci Resolve iPad.

Contents
- [Video] Change Your Age in DaVinci Resolve! (Face Age Transformer)
- How to Activate the Face Age Transformer in DaVinci Resolve iPad
- How to Detect Your Face for the Face Age Transformer
- How to Make Yourself Older or Younger in DaVinci Resolve
- Why You Need to Render the Clip First on Older iPads
- If you want to host your own Online Course use CC360
- BONUS: All DaVinci Resolve iPad Masterclass Students get the Transition Pack & the 8K Film Grain Pack for FREE!
[Video] Change Your Age in DaVinci Resolve! (Face Age Transformer)
How to Activate the Face Age Transformer in DaVinci Resolve iPad
Go to the Color Page and create a new serial node using the node icon. Select the new node, open the OpenFX panel, and search for “face age”. You will find the Face Age Transformer effect. Just drag and drop it onto your node.

How to Detect Your Face for the Face Age Transformer
Before you can change anyone’s age, DaVinci Resolve needs to find the face in your shot. Click the face detection button inside the effect settings. This places a tracking box over your face and analyzes the footage forward and backward to follow your movement. Once the analysis is done, you can turn the overlay box on or off so it does not block your view.

How to Make Yourself Older or Younger in DaVinci Resolve
Once your face is detected, swipe down in the settings to find the age controls. Type your real age into the “Subject is” field. Now use the Offset slider to push your age up or down. Adding decades to your own age can look surprisingly realistic. Going the other way and making yourself younger works too, but if you push the slider too far it starts to look unnatural.


Why You Need to Render the Clip First on Older iPads
Here is the catch. Older iPads like the M1 cannot preview this effect in real time, so playback will lag or stutter. The fix is simple. Mark an in and out point around the section you want to age, then export just that part as a new clip. Import the rendered clip back into your project and drop it on the timeline. Now you can preview it smoothly, since the heavy effect is already baked in.

Tip: If you don’t know how to get the other pages (FUSION, FAIRLIGHT, EDIT) on the iPad read this article first: How to UNLOCK ALL PAGES in DaVinci Resolve for iPad Pro
If you want to host your own Online Course use CC360
I really believe, that CC360 is the best Platform to host your own Online Course currently on the market. And each week they introduce new features. Amazing. Check it out here.
BONUS: All DaVinci Resolve iPad Masterclass Students get the Transition Pack & the 8K Film Grain Pack for FREE!
You can either get the Transition Pack separate here: Seamless Transition Pack for DaVinci Resolve iPad. Or the 8K Film Grain Pack here: 8K Film Grain Bundle. but all of our DaVinci Resolve iPad Packs are a FREE Bonus for the DaVinci Resolve iPad Masterclass Students.
Check It Out here DaVinci Resolve iPad MasterClass: From Beginner To Pro.
Read Next
• How COPY Color Grade to MULTIPLE Clips in DaVinci Resolve iPad
• DO THIS to make DaVinci Resolve FASTER! (Instead of rage smashing your iPad)
• How To Delete Cache Files in DaVinci Resolve iPad
• How To Color Correct iPhone Footage in DaVinci Resolve iPad
• Easy Sync Audio & Video in DaVinci Resolve iPad



![Grainy Night Shots? [This Fixes It!]](https://exlima.net/wp-content/uploads/2026/10/Grainy-Night-Shots-This-Fixes-It-1024x576-394x330.webp)