DaVinci Resolve iPad: MAGIC MASK 😱 Crazzy Good!
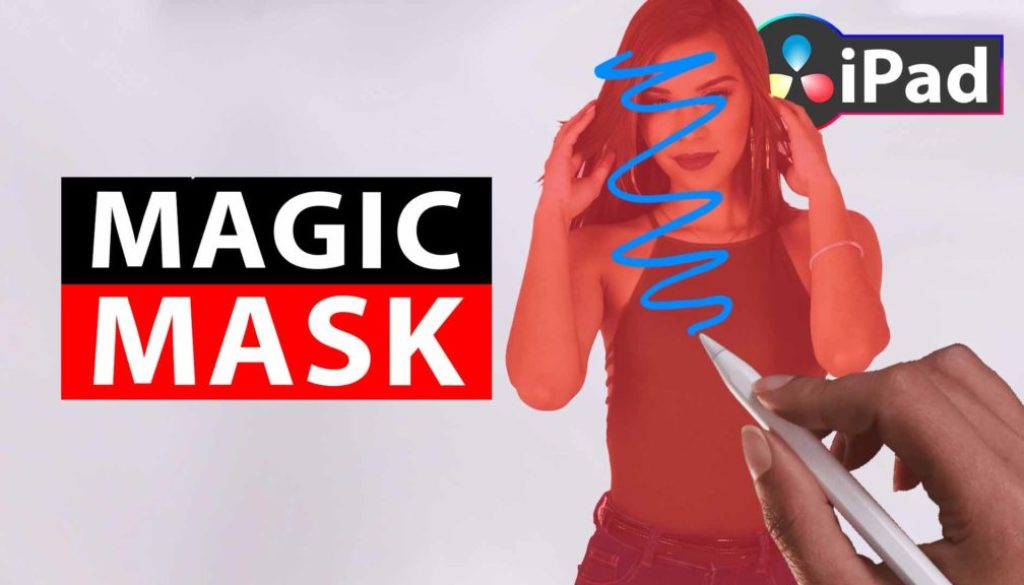
In this article i will show you the Studio only feature called Magic Mask in DaVinci Resolve for the iPad. This is an amazing feature that lets you simply skribble over an object in the Color Page and it will follow that Object automatic. Just like magic 😊
Pro Tip: Make your Videos Cinematic (and save a tone of time) with our Seamless Transition Pack for DaVinci Resolve iPad.

Contents
- [Video] DaVinci Resolve iPad: MAGIC MASK 😱 Crazzy Good!
- Magic Mask is a Studio only feature
- Use the Apple Pencil and scribble over an object
- Now its time to track the object
- All changes will only effect the highlighted object
- Setting Better or Faster?
- BONUS: All DaVinci Resolve iPad Masterclass Students get the Transition Pack for FREE!
[Video] DaVinci Resolve iPad: MAGIC MASK 😱 Crazzy Good!
Magic Mask is a Studio only feature
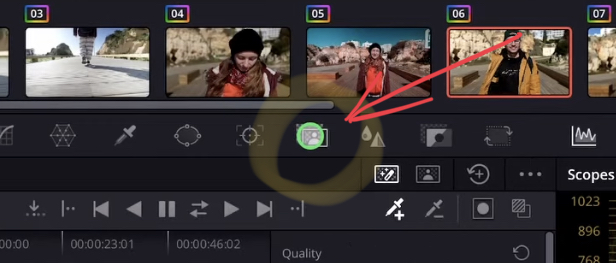
In order to use Magic Mask you need DaVinci Resolve Studio. More information about how you can get the DaVinci Resolve iPad Studio version in this article here.
If you want a list with all the differences between the Studio vs the FREE Version you will find a PDF for download in this article here.
Use the Apple Pencil and scribble over an object
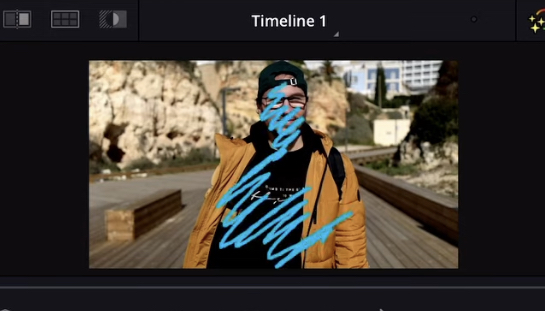
Its really that simple, just draw with the apple pencil over an object in your viewer. In my example its myself walking towards the camera in slow-motion.
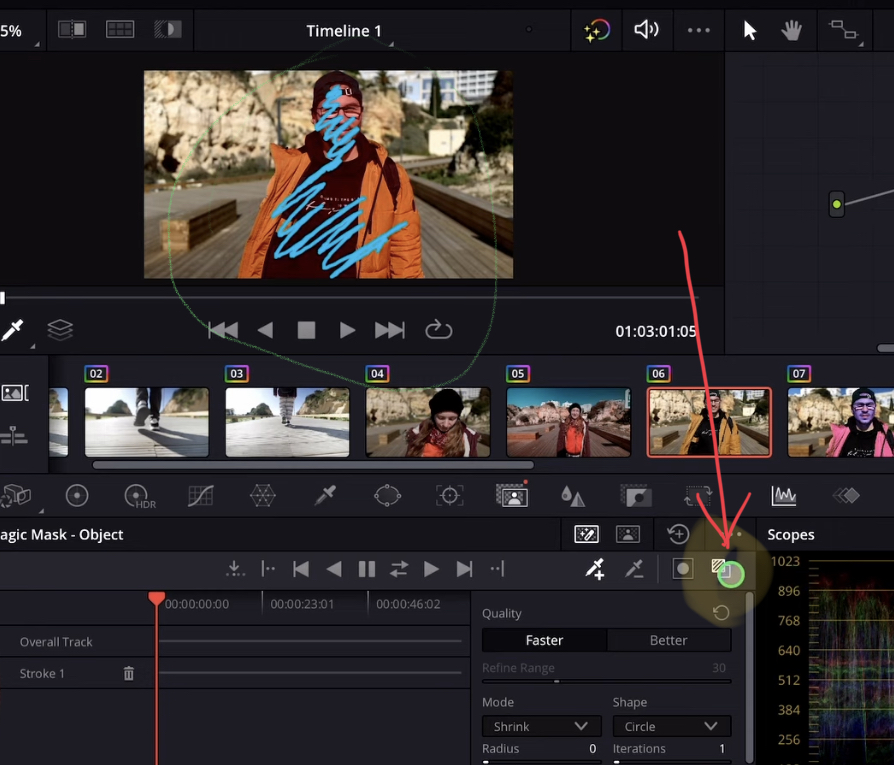
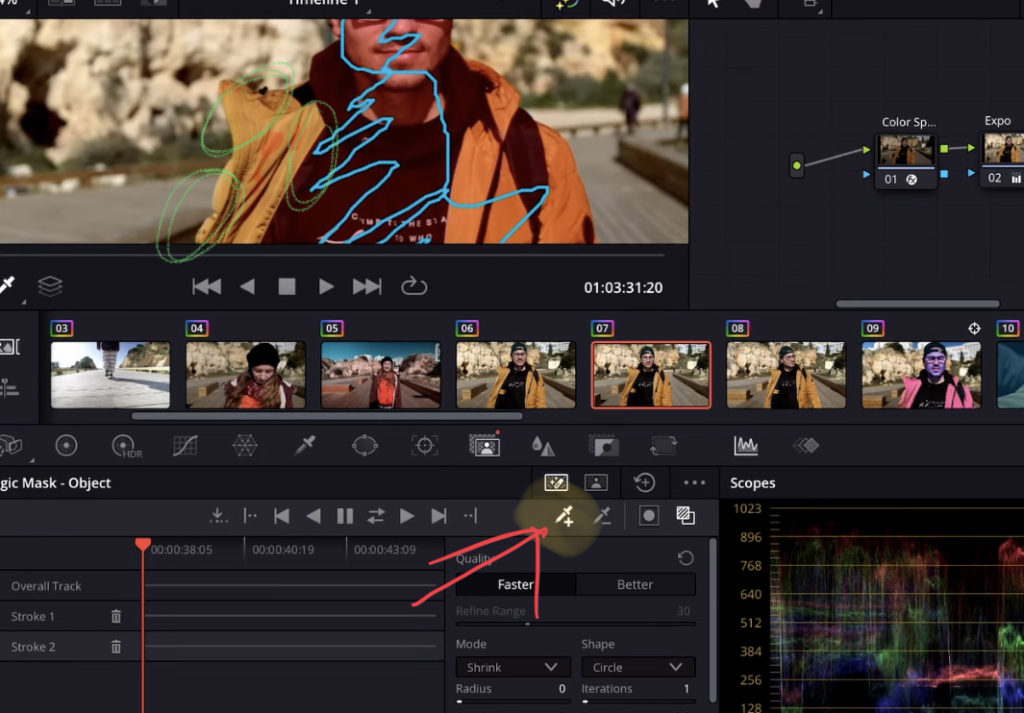
To see the highlight selection you can turn on the highlight with this icon here (see screenshot). In order to have a good result, make sure that the highlighted area covers all the object you want. Most of the time one time scribble is enough. But you can also add more scribbles to make your selection exact. Use the pipette + icon to add more scribbles to your selection.
Now its time to track the object
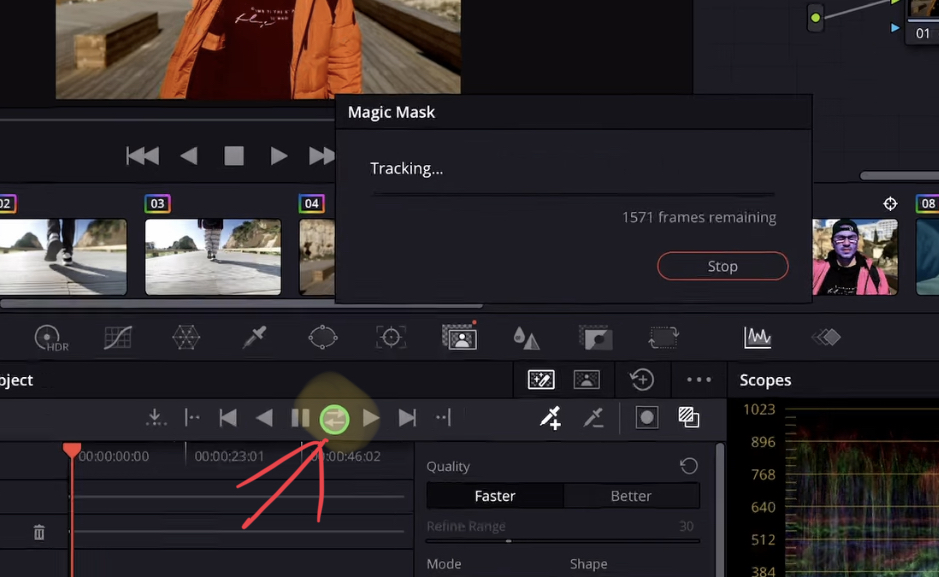
After your object is selected proper you can track the object using the tracker icons. The icon i clicked will check frames forwards and also if there is any frames backwards. Simply if you are at the very beginning of your clips you could also just click the play forward icon to track everything. If your selection frame was all at the end you can just hit the play backwards icon. In my case i used a frame in the middle of the clip. So this is why i use the icon for forward and backward tracking. Done, DaVinci Resolve will do all the work.
All changes will only effect the highlighted object
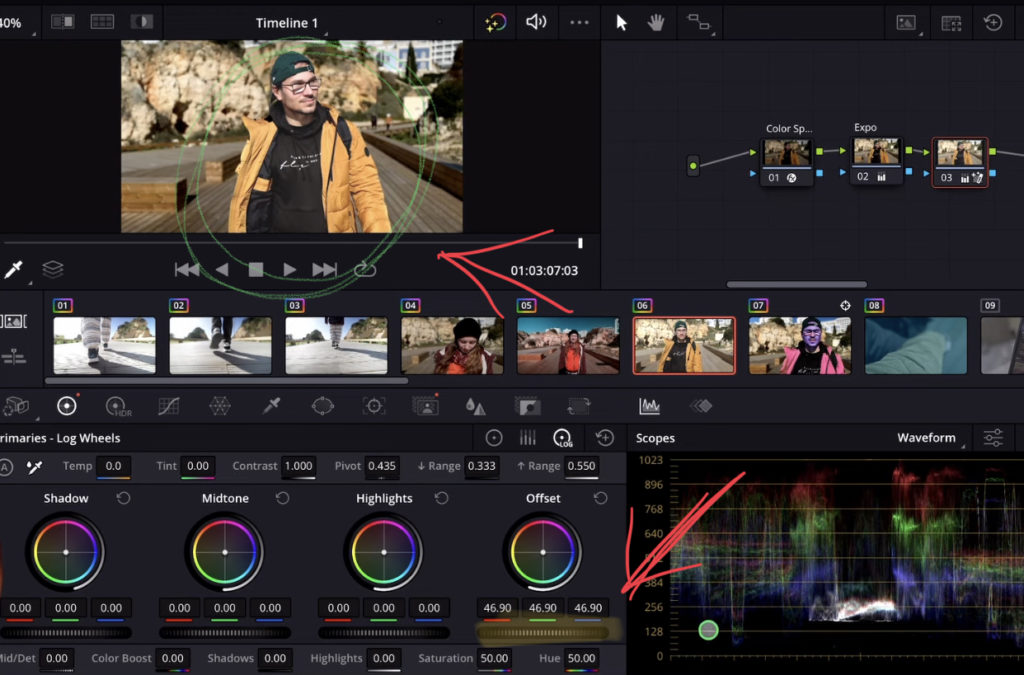
So everything you will change will only effect the object detected from Magic Mask. And because we tracked the motion it will also follow the object.
Setting Better or Faster?
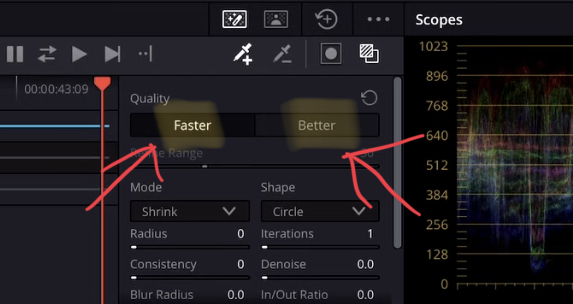
You can choose between a Better or Faster option. Like the name implies the Better option will do a better job, but may take longer and slow down your iPad. Depends on which iPad you have. In my example the faster option was totally fine and enough for that job.
BONUS: All DaVinci Resolve iPad Masterclass Students get the Transition Pack for FREE!
You can either get the Transition Pack separate here: Seamless Transition Pack for DaVinci Resolve iPad. Or all of our DaVinci Resolve iPad Packs are a FREE Bonus for the DaVinci Resolve iPad Masterclass Students.
Check It Out here DaVinci Resolve iPad MasterClass: From Beginner To Pro.

Read Next
• How COPY Color Grade to MULTIPLE Clips in DaVinci Resolve iPad
• DO THIS to make DaVinci Resolve FASTER! (Instead of rage smashing your iPad)
• How To Delete Cache Files in DaVinci Resolve iPad
• How To Color Correct iPhone Footage in DaVinci Resolve iPad
• Easy Sync Audio & Video in DaVinci Resolve iPad
