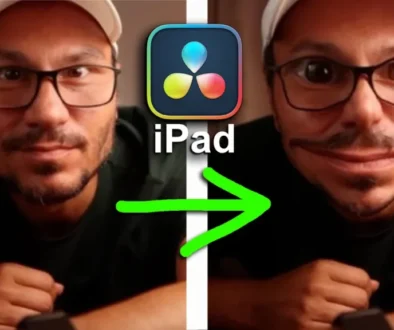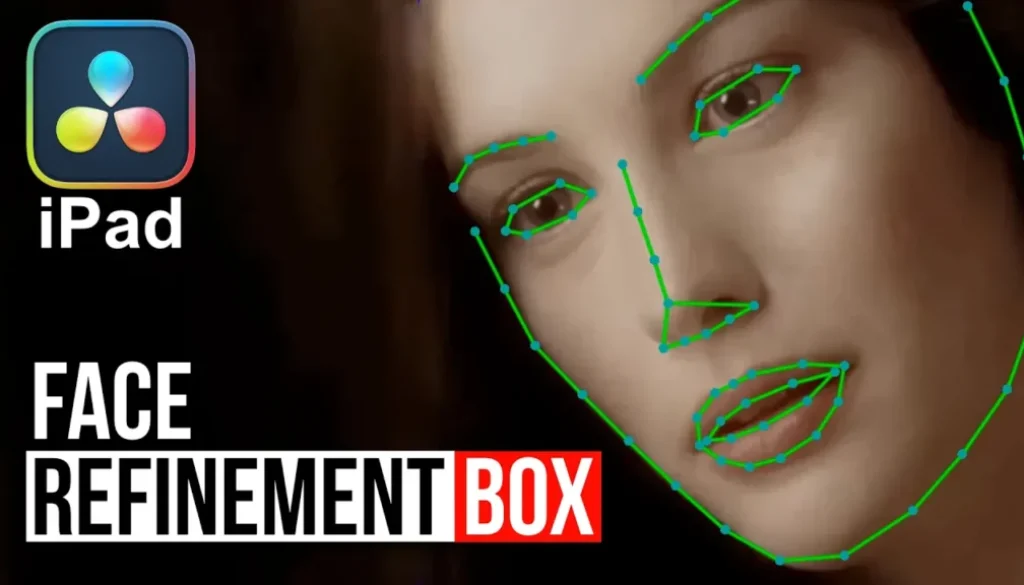
DaVinci Resolve iPad: Face Refinement Box, Profile & Smooth Skin Options Explained
In this article/video i will show you how DaVinci Resolve for iPad now has improved Face Refinement capabilities. You can now adjust the face mask points after the analysis, making the face detection more accurate than ever before.
Pro Tip: Make your Videos Cinematic (and save a tone of time) with our Seamless Transition Pack for DaVinci Resolve iPad.

Contents
- [Video] Improved Face Refinement in DaVinci Resolve iPad
- How to use Face Refinement in the Color Page of DaVinci Resolve iPad
- How to adjust the Face Refinement mask after analysis
- You can adjust all face areas including the nose and skin smoothness
- If you want to host your own Online Course use CC360
- BONUS: All DaVinci Resolve iPad Masterclass Students get the Transition Pack & the 8K Film Grain Pack for FREE!
[Video] Improved Face Refinement in DaVinci Resolve iPad
How to use Face Refinement in the Color Page of DaVinci Resolve iPad
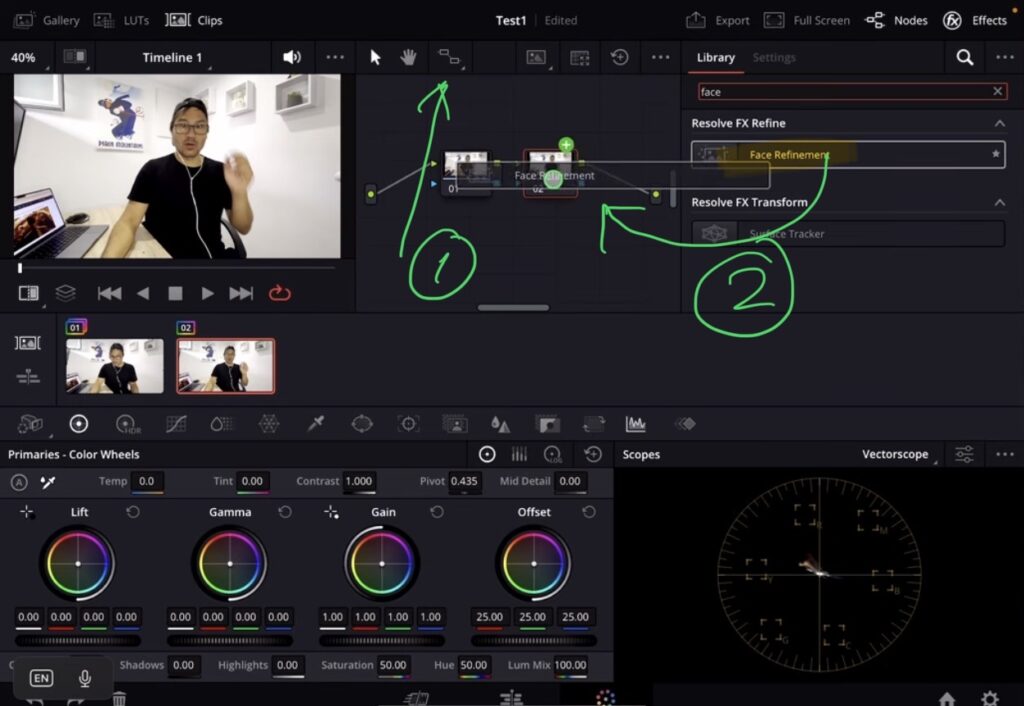
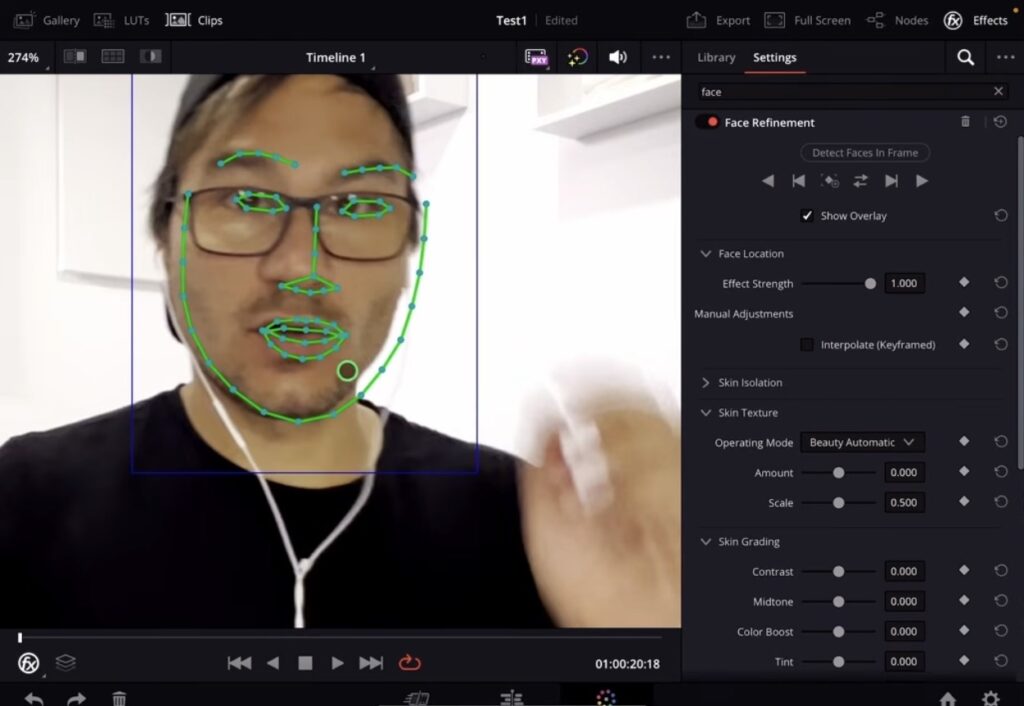
To use Face Refinement go to the Color Page and create a new node. Then open the Effects panel and search for “Face Refinement”. Add the effect to your node.
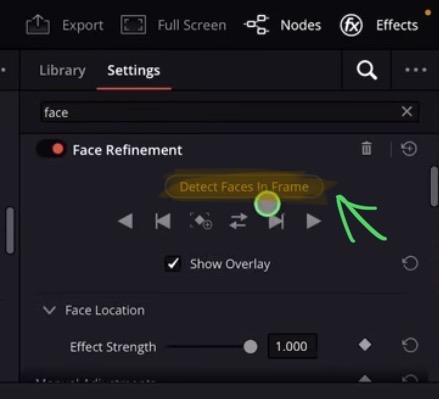
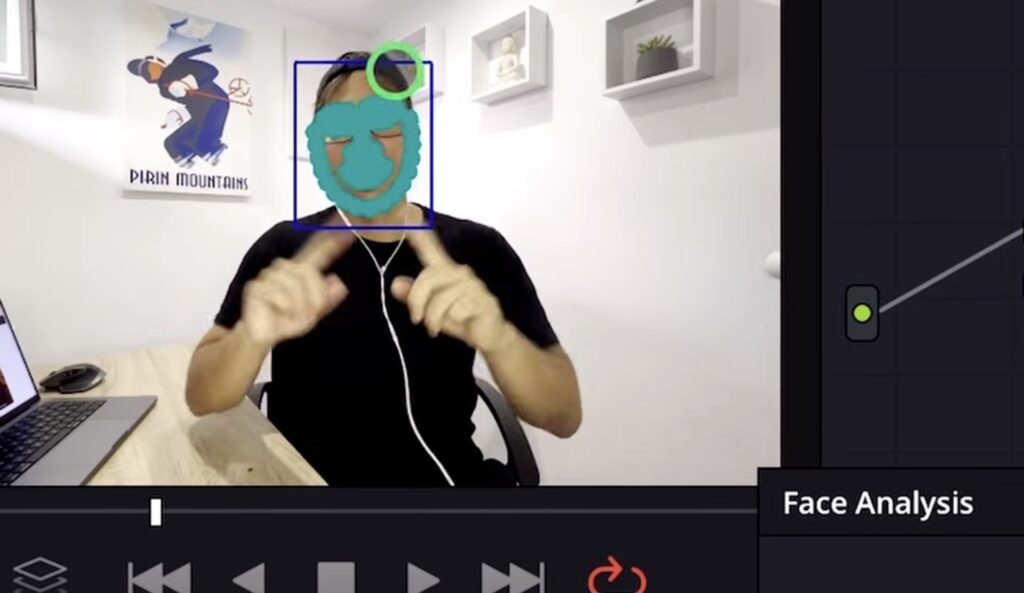
Now click to detect faces in your frame and let it run the analysis. DaVinci Resolve will automatically recognize your face and create a mask around it.
How to adjust the Face Refinement mask after analysis
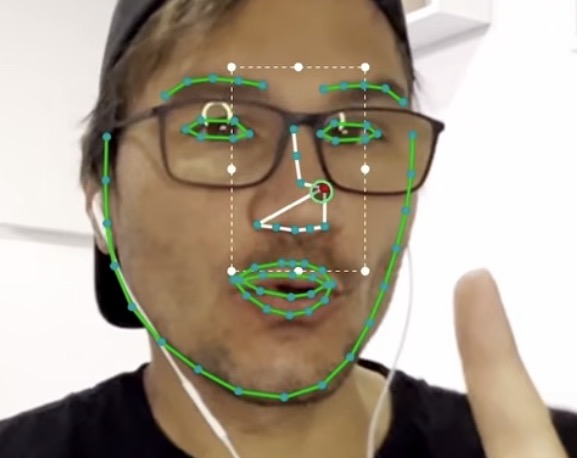
What is new is that after the analysis is done you can take the individual points of the mask and adjust them. So if the face detection didn’t catch the exact contour of your face, you can manually move the points to make the mask more accurate. This is very powerful because before you had to accept whatever the automatic detection created.
You can adjust all face areas including the nose and skin smoothness
Even if the automatic detection doesn’t perfectly catch a specific area like the nose, you can change all of these points manually. Use Shift + F to toggle the mask overlay so you can see exactly what the Face Refinement effect is targeting. You can also use your fingers to zoom in and out in the Color Page to get a closer look at the details.
Tip: If you don’t know how to get the other pages (FUSION, FAIRLIGHT, EDIT) on the iPad read this article first: How to UNLOCK ALL PAGES in DaVinci Resolve for iPad Pro
If you want to host your own Online Course use CC360
I really believe, that CC360 is the best Platform to host your own Online Course currently on the market. And each week they introduce new features. Amazing. Check it out here.
BONUS: All DaVinci Resolve iPad Masterclass Students get the Transition Pack & the 8K Film Grain Pack for FREE!
You can either get the Transition Pack separate here: Seamless Transition Pack for DaVinci Resolve iPad. Or the 8K Film Grain Pack here: 8K Film Grain Bundle. but all of our DaVinci Resolve iPad Packs are a FREE Bonus for the DaVinci Resolve iPad Masterclass Students.
Check It Out here DaVinci Resolve iPad MasterClass: From Beginner To Pro.
Read Next
• How COPY Color Grade to MULTIPLE Clips in DaVinci Resolve iPad
• DO THIS to make DaVinci Resolve FASTER! (Instead of rage smashing your iPad)
• How To Delete Cache Files in DaVinci Resolve iPad
• How To Color Correct iPhone Footage in DaVinci Resolve iPad
• Easy Sync Audio & Video in DaVinci Resolve iPad